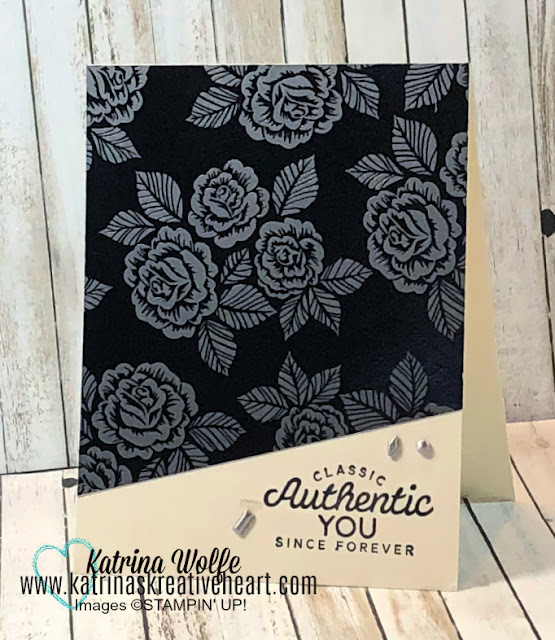
There’s something about spring that just makes you want to play with florals again, right? After what felt like a never-ending winter (and let’s be honest… way too much rain), sitting down with pretty flowers and fresh colors just hits different.
This week on Stampin’ Sundays, I pulled out the Fragrant Layers Bundle and created three cards that are simple, quick, but still have that “how did you make that?!” factor.
And friend… one of these includes the easiest watercolor technique using Wink of Stella that gives you a gorgeous shimmer AND a stained-glass look. You’re going to love it.
💙 Card #1: “It’s Your Day” – Let the Stamps Do the Work

This design uses:
- Stamping only (no die cutting!)
- Simple layering
- Fresh spring colors like Hydrangea Hue
The key here is placement and clean stamping. Using a stamp positioning tool makes this foolproof—you can stamp twice if needed and get that crisp, bold image every time.
👉 Takeaway: When your stamp set is this detailed, you don’t need to overcomplicate it.
✨ Card #2: “Just a Note” – The Shimmery Watercolor (Fan Favorite!)

This card stopped everyone in their tracks during the live—and honestly, it’s easier than it looks.
Here’s what makes it special:
- A bold black die-cut frame (hello, stained glass effect!)
- Soft watercoloring using ink refills
- Wink of Stella as your paintbrush = built-in shimmer
How it works:
- Add a tiny drop of ink refill to a block
- Pick it up with your Wink of Stella brush
- Start coloring from the base of the petal and pull upward
That’s it.
You get:
✔ depth
✔ soft blending
✔ sparkle (without extra steps)
👉 Pro Tip: Start where you want the darkest color and pull outward—it creates that natural gradient without overthinking it.
🧡 Card #3: “So Happy For You” – Quick Layout, Big Impact

- You’re tired
- You still want to craft
- You need something DONE fast
We used:
- Three simple die-cut squares
- Repeated stamping
- A clean sentiment strip
The overlapping layout gives it that modern, layered look without a lot of effort.
👉 Takeaway: Repetition + layout = instant design win.
💡 Why This Bundle Works So Well
The Fragrant Layers Bundle is one of those sneaky-good sets because:
- The stamps carry the design
- The dies add versatility (but aren’t required)
- You can go simple OR step it up
Perfect if you’re short on time but still want beautiful results.
.png)
🎉 Big News: Stamp N’ Create Virtual Bingo Night!

My friend Cyndy and I are hosting a:
👉 Stamp N’ Create Virtual Night – May 10th
And you’re invited to craft, laugh, and get a first look at the brand new catalog goodies (which launches May 5th 👀).
Here’s what you’ll enjoy:
✨ Mystery stamping
✨ Sneak peeks of new products
✨ A fun Bingo-style game
✨ Creative inspiration + community
🎟 How Bingo Works:
- Choose 5 numbers (1–25) ahead of time
- We’ll draw numbers during the event
- First to match all 5 = BINGO + a prize 🎉
🧧 How to Get Entries:
- Every $25 order (by May 9) = 1 FREE set of numbers
- No order? Join for just $5
- Invite a friend → you BOTH get a free set!
This is seriously the perfect low-pressure, cozy night in—with crafting friends.
💬 Let’s Chat
Which card was your favorite this week?
Was it:
💙 The simple stamped floral
✨ The shimmery stained-glass look
🧡 Or the quick layered squares
Drop a comment and let me know—and if you loved that Wink of Stella technique, make sure to save this post so you can try it later!
And if you want in on our Bingo night fun… now’s the time to grab your spot.