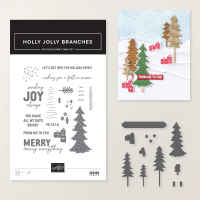
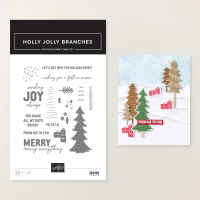
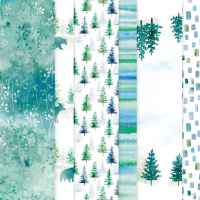
If your Christmas card list is growing faster than your crafting time, I have good news: beautiful handmade cards don't need to be complicated! On this week's Stampin’ Sundays with Katrina, we made three easy Christmas cards with the Holly Jolly Branches Bundle and Whispering Woods Designer Series Paper. Grab your coffee and come see how to get more from a few simple supplies.
Let the Pretty Paper Do the Work

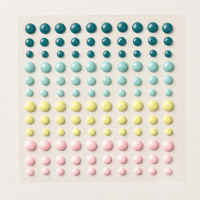
A round sentiment reading “You Make All My Days Bright” and a few embellishments complete the card. The best part? Different sections of the paper feature different woodland animals, so you can make a coordinated collection without making every card identical.
**Try this:** Look through the patterned paper you already own for a scene or focal image. Sometimes the paper has done the designing for you!
Make a Statement with One Stamped Tree

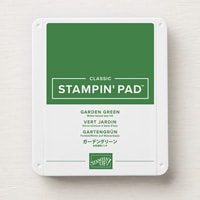
For the second card, we used a simple vertical strip of tree-patterned paper, a skinny Garden Green accent, and a stamped, die-cut Christmas tree. The patterned paper measures 2 by 5½ inches, and the green strip is ½ by 5½ inches. A little green showing along the paper's edge creates definition against the white background.
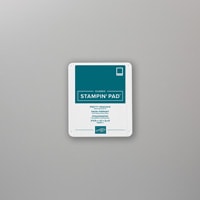
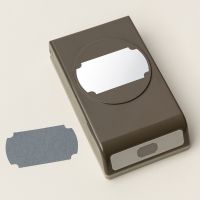
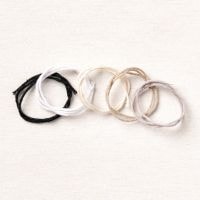
I stamped the tree in Garden Green, cut it with its coordinating die, and paired it with “Merry, merry everything” in Pretty Peacock. A white baker's twine bow adds just enough texture. I used a retired label punch for my sentiment, but any similar punch or die will work. That's one of my favorite reminders: use what you have!
**Try this:** When a patterned-paper strip looks a little lost on white cardstock, tuck a contrasting cardstock strip underneath it. You don't need to add a whole extra layer.
Build a Little Forest with Three Die Cuts

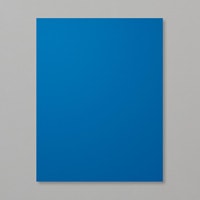
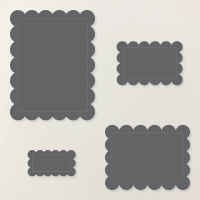
Our final card features three simple trees in Garden Green, Pretty Peacock, and Blueberry Bushel. I started with a 4 by 5¼ inch panel of colorful Whispering Woods paper, then layered a white scalloped die-cut panel over it. The white space helps those bold trees stand out.
The trees are cut from three standalone dies in the Holly Jolly Branches collection. I stamped “From Me to You” along the bottom of the scalloped panel, then arranged the trees above it. A couple of sparkling embellishments finished everything off.
**Try this:** When using three focal shapes, vary their height and color. A grouping of three gives you visual interest while keeping the design balanced and easy to assemble.

Beautiful Paper with a Little Extra Purpose
Whispering Woods is especially meaningful this holiday season. Stampin’ Up! is donating $3 from every pack sold to organizations that help bring holiday cheer to families in need around the world. I love when something we're already enjoying in our craft rooms can do a little good beyond them.
And because this is the first Sunday of November, these cards are also our Free with Purchase class! A qualifying $40 order before shipping and tax earns a mailed kit with the pieces to make six cards, two of each design, for U.S. customers. You'll supply your own stamps and ink; I'll prepare the cutting and die-cutting.
Your Turn: Which Card Would You Make First?
If you're new to cardmaking, start with the woodland scene. If you love stamping, try the single-tree design. And if you enjoy a little dimension, build your own three-tree forest. There is no wrong place to begin.
Tell me in the comments: are you Team Woodland Scene, Team Merry Tree, or Team Three-Tree Forest? Save this post for your next Christmas crafting session, and check the video description on YouTube for the supplies and shopping information. And don't forget—there's one more week to enter our sketch challenge for a chance to win an embellishment! Happy crafting, friends!
Product List 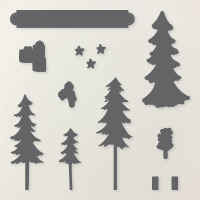 | |||
 | |||
 | |||
 |  |  |  |
 |