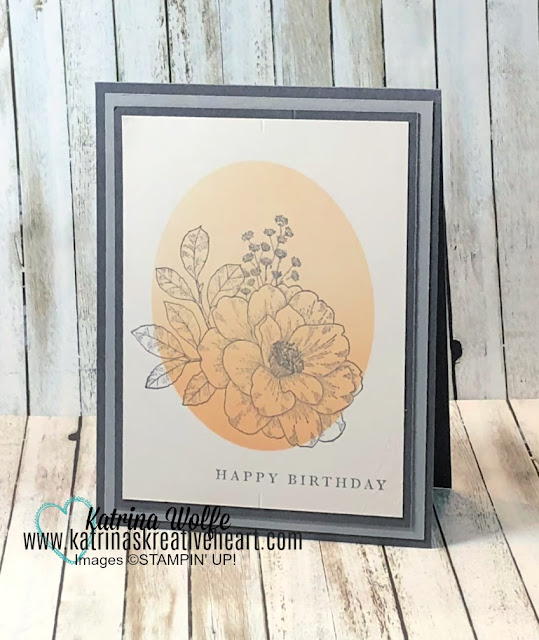
Welcome back to my little corner of the web. All this week I'm sharing how to create a "masked background". I love this technique as you can create simple yet elegant or simple yet adorable cards with minimal effort and they all pack a punch.
Today's card was created using Stampin' Up! masking paper and Framed Floret's Dies along with a blending brush. Just cut an oval shape from the masking paper and place over the Basic White panel and apply layers of ink with a blending brush. Once you achieve the desired saturation of color, remove the mask and stamp the image and the sentiment. Finally, attach all the layers and add them to the card base.
This card is so simple, yet elegant and is perfect for the beginner stamper as well as the most experienced stamper.
I hope this card inspires you to try a simple ink blended background with a mask.
Happy Stamping,
Product List


No comments:
Post a Comment